Checkpoints
Deploy Microsoft SQL Server
/ 50
Create a Windows user and password
/ 50
Deploy Microsoft SQL Server to Compute Engine
GSP031

Overview
Compute Engine lets you create and run virtual machines on Google infrastructure. There is a catalog of public application images available, including a variety of Microsoft SQL Server and Windows versions.
In this lab, you will learn how to create a virtual machine with Microsoft SQL Server installed. You'll create a Windows user and password, and learn how to connect to the Windows Server via remote desktop.
What you'll learn
- How to stand up a virtual machine running Microsoft SQL Server on Compute Engine.
- How to create a Windows user and password.
- How to remote desktop into a Windows Server virtual machine.
Prerequisites
- Basic familiarity with Microsoft SQL Server and RDP Connections
- Either a Windows machine or a non-Windows machine with Chrome. Other RDP Clients should suffice but instructions for their use are not provided in this lab.
Setup and requirements
Before you click the Start Lab button
Read these instructions. Labs are timed and you cannot pause them. The timer, which starts when you click Start Lab, shows how long Google Cloud resources will be made available to you.
This hands-on lab lets you do the lab activities yourself in a real cloud environment, not in a simulation or demo environment. It does so by giving you new, temporary credentials that you use to sign in and access Google Cloud for the duration of the lab.
To complete this lab, you need:
- Access to a standard internet browser (Chrome browser recommended).
- Time to complete the lab---remember, once you start, you cannot pause a lab.
How to start your lab and sign in to the Google Cloud console
-
Click the Start Lab button. If you need to pay for the lab, a pop-up opens for you to select your payment method. On the left is the Lab Details panel with the following:
- The Open Google Cloud console button
- Time remaining
- The temporary credentials that you must use for this lab
- Other information, if needed, to step through this lab
-
Click Open Google Cloud console (or right-click and select Open Link in Incognito Window if you are running the Chrome browser).
The lab spins up resources, and then opens another tab that shows the Sign in page.
Tip: Arrange the tabs in separate windows, side-by-side.
Note: If you see the Choose an account dialog, click Use Another Account. -
If necessary, copy the Username below and paste it into the Sign in dialog.
{{{user_0.username | "Username"}}} You can also find the Username in the Lab Details panel.
-
Click Next.
-
Copy the Password below and paste it into the Welcome dialog.
{{{user_0.password | "Password"}}} You can also find the Password in the Lab Details panel.
-
Click Next.
Important: You must use the credentials the lab provides you. Do not use your Google Cloud account credentials. Note: Using your own Google Cloud account for this lab may incur extra charges. -
Click through the subsequent pages:
- Accept the terms and conditions.
- Do not add recovery options or two-factor authentication (because this is a temporary account).
- Do not sign up for free trials.
After a few moments, the Google Cloud console opens in this tab.

Task 1. Deploy Microsoft SQL Server
Create a new Compute Engine virtual machine instance running Microsoft SQL Server from the Cloud Console.
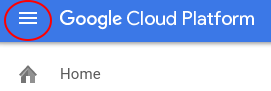
- In Cloud Console, click the Menu icon for Navigation menu in the top left of the screen:
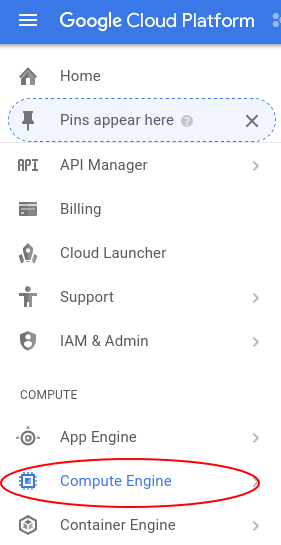
- Then click Compute Engine:
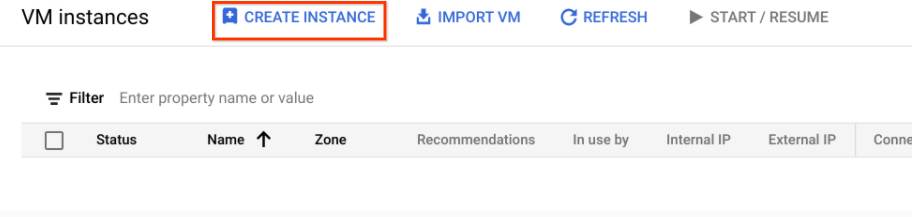
- Then, click CREATE INSTANCE.
-
Next, name the new instance
sqlserver-lab. -
Choose a zone as
. -
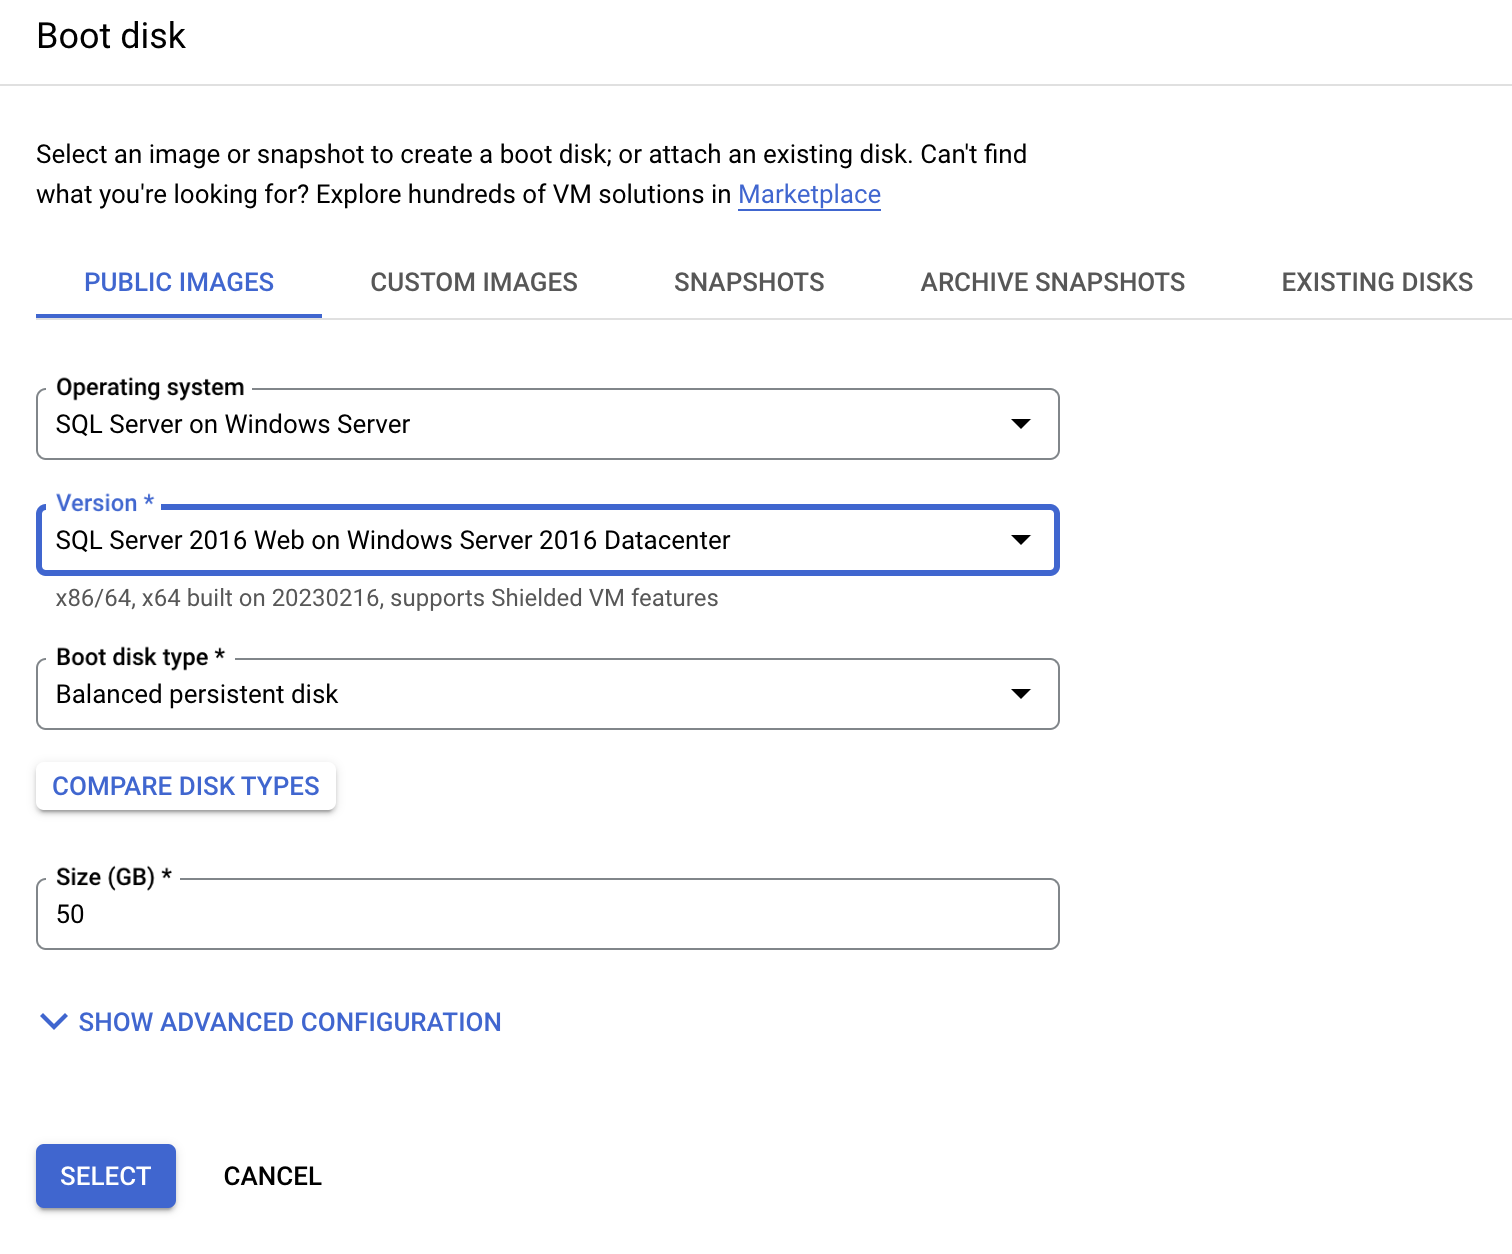
Click Change to change the boot disk.
-
Remain in the Public images tab:
-
For the operating system, select SQL Server on Windows Server. For the version, select SQL Server 2016 Web on Windows Server 2016 Datacenter.
-
At the bottom of the window, click Select.
-
Click Create.
This will take you to a new page where you can see the new instance being created. A checked green circle appears when the instance is ready.

You will be able to remote desktop (RDP) into the machine from this page after you create a Windows user and password.
Click Check my progress to verify the objective.
Task 2. Create a Windows user and password
To RDP into the Windows instance, you must create a Windows user and password.
-
To create them, click the name of your instance, sqlserver-lab, to see the instance details.
-
Then, select Set Windows password.
This will open a new window where you create a user.
- Copy and save the default username for later use and select Set.
After a few seconds, you should have a New Windows password dialog with the newly created password.
- Click the rectangles alongside the password to copy the password.
Copy and paste with the RDP client
Once you are securely logged into your instance, you may find yourself copying and pasting commands from the lab manual.
To paste, hold the CTRL-V keys (if you are a Mac user, using CMND-V will not work.) If you are in a Powershell window, be sure that you have clicked into the window or else the paste shortcut won't work.
If you are pasting into putty, right click.
Click Check my progress to verify the objective.
Task 3. Remote desktop (RDP) into the Windows Server
It's time to RDP into the Windows Server. There are two different ways to do this, depending on whether or not you are on Windows. Let's go through them both.
Not running Windows
-
If you are not on Windows but are using Chrome, open Spark View extension page in normal window.
-
Click on Add to Chrome. Then, click Launch app button.
-
It opens up a login page, add your VM instance's External IP in Computer field.
-
Then enter your Windows user name and password and click Connect.
Running Windows
-
If you are on a Windows machine, download the RDP file by selecting it from the RDP dropdown menu.
-
Double click the RDP file and log in using the Windows user and password.
Task 4. Run Microsoft SQL Server Management Studio
-
Inside your remote desktop window, click the Start menu, and type Microsoft SQL.
-
Then right click Microsoft SQL Server Management Studio and
Run as administrator.
Microsoft SQL Server Management Studio launches, showing you a Connect to Server window.
-
Click Connect.
-
Then, use the Object Explorer window to examine your new database.
Congratulations!
Compute Engine is the foundation to Google Cloud's Infrastructure-as-a-Service. As you've seen, application images make it easy to run Microsoft SQL Server.
Finish your quest
This self-paced lab is part of the Windows on Google Cloud quest. A quest is a series of related labs that form a learning path. Completing this quest earns you a badge to recognize your achievement. You can make your badge or badges public and link to them in your online resume or social media account. Enroll in this quest and get immediate completion credit. Refer to the Google Cloud Skills Boost catalog for all available quests.
Take your next lab
Continue your quest with Running Windows Containers on Compute Engine, or check out these suggestions:
- Install and Use Cloud Tools for PowerShell
- Configuring and Deploying Windows SQL Server on Google Cloud
Next Steps
- Wonder how much it'll cost to run your workloads? Try using the Pricing Calculator -- enter the number of instances, vCPU, and memory needs.
- Learn more about Windows on Google Cloud.
- Learn more about .NET on Google Cloud.
- Learn more about SQL Server on Google Cloud.
- Learn more about Cloud Tools for Visual Studio.
Google Cloud training and certification
...helps you make the most of Google Cloud technologies. Our classes include technical skills and best practices to help you get up to speed quickly and continue your learning journey. We offer fundamental to advanced level training, with on-demand, live, and virtual options to suit your busy schedule. Certifications help you validate and prove your skill and expertise in Google Cloud technologies.
Manual Last Updated September 25, 2023
Lab Last Tested September 25, 2023
Copyright 2024 Google LLC All rights reserved. Google and the Google logo are trademarks of Google LLC. All other company and product names may be trademarks of the respective companies with which they are associated.