체크포인트
Copy an existing AppSheet app
/ 25
Test the No-Code Chat app
/ 35
Build a No-Code Chat automation
/ 40
Develop No-Code Chat Apps with AppSheet
GSP1146

Overview
This lab provides an introduction to creating no-code Chat apps. Chat apps are web applications or services that run in Google Chat. Creating a Chat app with AppSheet lets you interact directly with the app in Google Chat rather than opening it in a separate window.
In this lab, you use AppSheet to create a basic application to report and manage ATM issues. You start by copying a simple app that uses a spreadsheet as its data source. You then add a chat component so you can interact with the app directly in Google Chat.
Scenario: Operations analyst at a bank
You’re an operations analyst at a bank working on a team with five ATM technicians. You are responsible for coordinating maintenance for several ATMs in the area. Historically, this process relied heavily on email and paper documents.
You have developed a no-code app using AppSheet to better manage ATM maintenance and technician dispatching. The ATM technicians often use Google Chat to communicate with each other. You would like to create a Chat component for your app, so they can easily use its core features without leaving Google Chat.
What you'll learn
- Add a chat component to an existing AppSheet app
- Create slash commands
- Add automations to an app
- Use an app in Google Chat
Prerequisites (optional)
It's recommended you complete the Google AppSheet: Getting Started lab before this one. This can be followed up by taking the Building No-Code Apps with AppSheet: Foundations course either before or after this lab.
Setup and requirements
Before you click the Start Lab button
Read these instructions. Labs are timed and you cannot pause them. The timer, which starts when you click Start Lab, shows how long lab resources will be made available to you.
This hands-on lab lets you do the lab activities yourself in a real cloud environment, not in a simulation or demo environment. It does so by giving you new, temporary credentials that you use to sign in and access AppSheet for the duration of the lab.
What you need
To complete this lab, you need:
- Access to a standard internet browser (Chrome browser recommended).
- Time to complete the lab.
-
Make sure you are signed into Google Cloud Skills Boost using an incognito window.
-
When ready, click
.
A new panel will appear with the temporary credentials that you must use for this lab.
If you need to pay for the lab, a pop-up will open for you to select your payment method.
-
Note your lab credentials. You will use them to sign in to AppSheet for this lab.
Note: If you use other credentials, you will get errors or incur charges. -
Click Open AppSheet.
-
Click to sign in with Google.
-
In the Sign in with Google dialog, enter the Username provided for the lab and click Next.
Note: If you see other accounts listed, click Use another account, enter the credentials provided for this lab, then click Next. -
Enter the password provided for this lab and click Next.
-
Click I Understand to accept the terms.
-
On the AppSheet consent page, click Allow. This allows AppSheet to access the Google Drive folders associated with your Google Cloud Skills Boost account.
-
You are now signed in to AppSheet.
Click on the X in the top right corner of the Tell us about you so we can make better recommendations dialog to view the AppSheet MyApps page.
The MyApps page is empty since you do not yet have any apps.


Task 1. Create your app
When developing apps, it's common to incrementally add new features. In this task, you copy an existing ATM Maintenance app, and in the subsequent tasks you extend its functionality.
Copy a template app to your AppSheet account
-
After you've logged into AppSheet, open the ATM Maintenance app in a new browser tab.
-
In the left navigation menu, click Copy app (
).
-
In the Copy app form, for App name, type ATM Maintenance Tracker, and leave the remaining settings as their defaults.
-
Click Copy app.
AppSheet creates the app and copies the spreadsheet that is used by the app to the
/appsheet/data/ATMMaintenanceTracker-nnnnnnnfolder within your My Drive folder in Google Drive.
Your app is set up with the original app's data source. Now you can keep building the app's functionality. You can also access the app from the My apps page in the AppSheet UI under Apps.
Preview your app
The AppSheet editor has 3 main areas: the navigation bar, main panel, and app preview.
The app preview shows what the latest version of your app will look like on a phone oriented vertically.
-
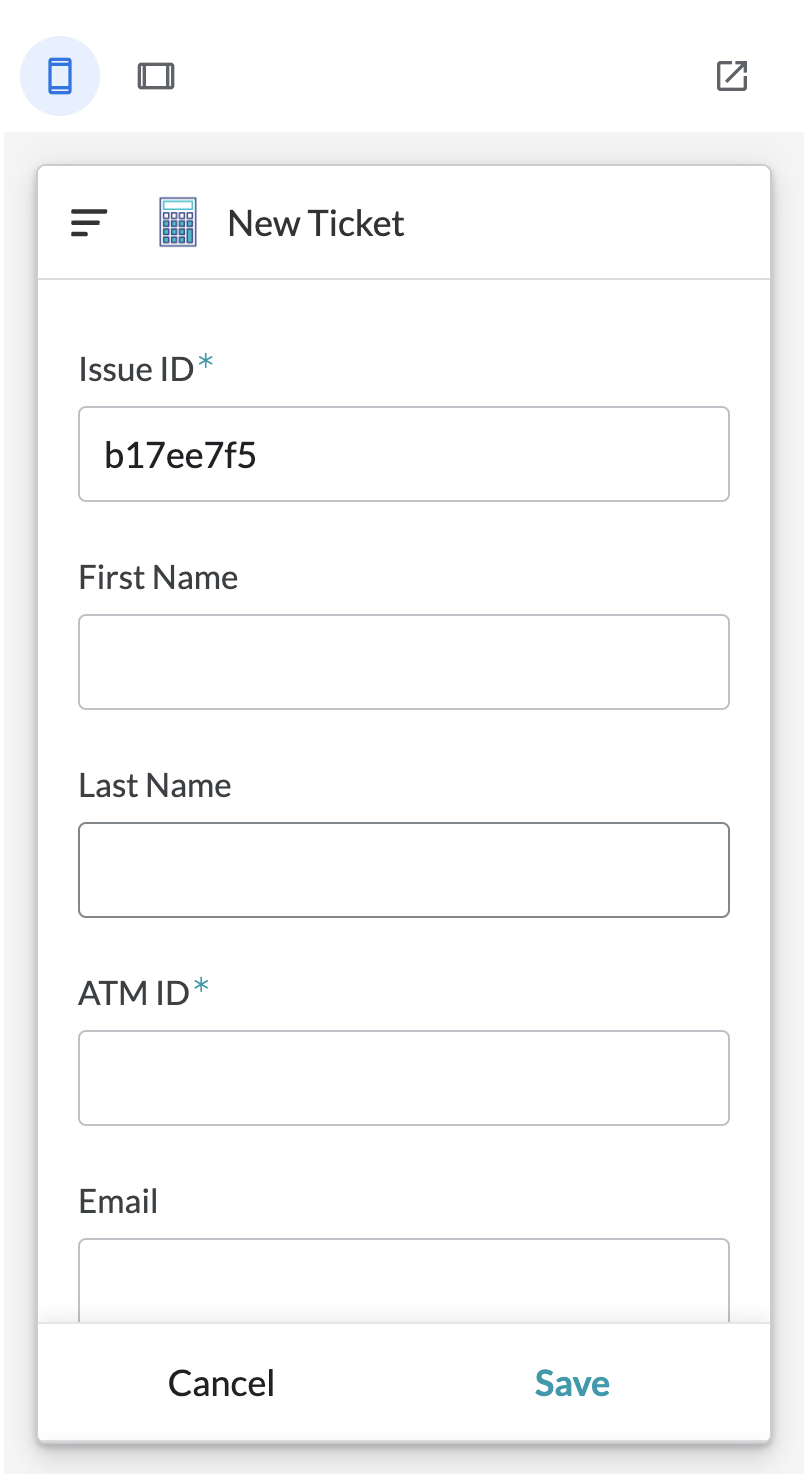
In the app preview panel, scroll through the New Ticket form.
The New Ticket form lets you create a new ticket that is automatically assigned to a technician according to the Symptom you select.
-
Click Cancel to navigate away from this view and explore the app further. Once you understand how the app functions overall, proceed to the next step.
Open the Chat app builder
-
To open the Chat app builder, select Chat apps (
) in the left navigation menu.
-
Click Create.
-
In the Enable card, click Next to automatically configure your project.
By default, Chat apps in AppSheet are created in the automatic configuration mode which provides you with a simple way to configure and publish your labs. To learn more about this one-click publishing flow, see Configure Chat apps with AppSheet.
Click Check my progress to verify the objective.
Task 2. Customize your app
When you add an app to a conversation or a space, the app sends an initial message. You can customize the Chat app menu, called a card, that is sent to a user when the app is installed or @mentioned. In this task, you customize the first message, add actions, and configure the Chat API in the Google Cloud console.
Customize the first message
-
In the Customize card, click First message to expand the section.
AppSheet automatically populates the message text and app views.
-
For message text, change the greeting to: Welcome to the ATM Maintenance Tracker app. What do you want to do today?
-
In the list of Chat card menu, click My Tickets, and then select Issues Reported By Me in the dropdown to change the chat card.
-
To remove the Manage Techs view, click Delete (
).
- Click Save at the top of your AppSheet window.
Create a slash command
-
In the Actions section, click + New action.
-
Select Slash command: Open app view from the list of options.
Slash commands enable users to simply type "/" in the message line to reveal a list of functions offered by available bots. They make it much easier for you to discover and use the available Chat app features.
-
Select Issues Reported By Me from the App View dropdown.
-
Type /myissues for the Name.
-
In the Description field, type Lists tickets that include your email address.
-
Click Next.
Task 3. Publish your app
In this task, you run a deployment check, resolve a warning, and publish your app.
Perform a deployment check
-
In the Test card, click Go to deployment settings to open the Deploy tab in the AppSheet UI.
-
If the deployment check does not begin automatically, click Run Deployment Check.
The output of the deployment check lists any errors or warnings that you should fix, before deploying the app.
-
Click App description.
The section expands to provide more details on the warning.
-
Click Continue editing so you can address the App description warning before publishing your app.
Fix the App description warning
-
In the left navigation menu, click Settings (
).
-
In the Information tab, in the App Properties section, click the dropdown for Function.
-
Select Maintenance from the list of options.
-
Click the dropdown for Industry and select Financial Services.
-
Click Save.
Deploy the app
-
In the left navigation menu, click Manage (
) to return to the Deploy options.
-
In the Deployment Check section, click Run deployment check to rerun the process.
Notice the App Description has changed from WARNING to PASSED.
-
Click Move app to deployed state.
Task 4. Test your app
Spaces in Google Chat are central places where people can share files, assign tasks, and stay connected. You can directly message an app or add it to spaces and conversations. In this task, you test your app in Google Chat by creating a space, adding your app to the space, and using the app.
Add the app to a space
- In a new incognito tab, open Google Chat.
- If a modal appears, click Get Started, and then click X to close the tutorial.
- In the lower left pane, in Spaces, click + to Create or find a space, and then click Create space.
- Type a space name, and then click Create.
- Click Add people & apps, select the ATM Maintenance Tracker app from the list, and then click Add.
Use the app in a space
-
To create a new ticket, click Open in app option next to All Tickets and then click New Ticket.
A dialog will appear.
-
Enter any information that you like in the First Name and Last Name fields.
-
For ATM ID, type ABC123.
-
For Email, use the lab email address you used to log into AppSheet.
-
For the Symptom field, select Card reader not working from the dropdown.
-
Select the N (No) option for Resolved.
-
Leave the other fields as their defaults, and then click Save.
-
To view your updated ticket list, type /myissues in the reply area, and then click enter.
Click Check my progress to verify the objective.
Task 5. Build an automation
Automations let you trigger events based on Chat app interactions like adding or removing a Chat app in a space. You can also send messages and app views to Chat spaces based on Chat interactions. In this task, you create an automation of your own.
Create a custom event
-
Return to your AppSheet tab and select Chat apps (
If you've exited the AppSheet tab, click My apps, and select ATM Maintenance Tracker from the list.
-
Click the Customize card in the Chat app editor.
-
Click + New action, and then select Build my own...
The automation page in the AppSheet editor will open in the same tab.
-
Click Configure event, and then click Create a custom event.
-
In the Settings panel, provide the following information:
| Event name | New ticket |
|---|---|
| Event type |
 Adds only Adds only |
| Table | Tickets |
Create a custom step
-
In the main panel, click + Add a step, and then select Create a custom step.
-
Click New step to open the Settings for the custom step you just created.
-
In the Settings panel, click
-
For Message Content, choose the Select chat spaces option.
-
For Space ID(s), click Add, and then select the space you created in the previous task.
-
In the Message Text box, type the message: You have created a new ticket.
-
At the top right of the page, click Save to update your app.
Test your automation
-
Navigate back to Google Chat and open the space in Google Chat that you created in the previous task.
-
Click New Ticket in the ATM Maintenance Tracker App.
-
In the First Name box, type Freeda.
-
Provide the information of your choosing for ATM ID and Symptom.
-
Click Save.
Notice how the app sends a confirmation message.
Click Check my progress to verify the objective.
Delete your app
Now that you’ve successfully tested your app, you can delete it, marking the completion of the software development lifecycle.
-
In the left navigation menu, click Manage (
-
Select Collaborate & Publish from the list of options.
-
Click Delete App.
Congratulations!
You’ve successfully created your first no-code chat app. You learned how to:
- Add a chat component to an existing app
- Create slash commands
- Add automations to an app
- Use an app in Google Chat
Take your next lab
Next steps / Learn more
Check out the following for more information on No-Code Chat apps:
- Review the Troubleshoot Chat apps resources for tips to resolve issues with Chat app configurations
- Read the AppSheet Chat apps FAQ to find answers to your questions about AppSheet Chat apps
Google Cloud training and certification
...helps you make the most of Google Cloud technologies. Our classes include technical skills and best practices to help you get up to speed quickly and continue your learning journey. We offer fundamental to advanced level training, with on-demand, live, and virtual options to suit your busy schedule. Certifications help you validate and prove your skill and expertise in Google Cloud technologies.
Manual Last Updated January 05, 2024
Lab Last Tested January 05, 2024
Copyright 2024 Google LLC All rights reserved. Google and the Google logo are trademarks of Google LLC. All other company and product names may be trademarks of the respective companies with which they are associated.