检查点
Enable the Document AI API
/ 40
Create a processor
/ 40
Extract the entities
/ 20
Using Specialized Processors with Document AI (Python)
GSP1140
Overview
Document AI is a document understanding solution that takes unstructured data (e.g. documents, emails, invoices, forms, etc.) and makes the data easier to understand, analyze, and consume. The API provides structure through content classification, entity extraction, advanced searching, and more.
In this lab, you will learn how to use Document AI Specialized Processors to classify and parse specialized documents with Python. For the parsing and entity extraction, you will use an invoice as an example. This procedure and example code will work with any specialized document supported by Document AI.
Objectives
In this lab, you will learn how to perform the following tasks:
- Extract schematized entities using specialized processors.
Setup and requirements
Before you click the Start Lab button
Read these instructions. Labs are timed and you cannot pause them. The timer, which starts when you click Start Lab, shows how long Google Cloud resources will be made available to you.
This hands-on lab lets you do the lab activities yourself in a real cloud environment, not in a simulation or demo environment. It does so by giving you new, temporary credentials that you use to sign in and access Google Cloud for the duration of the lab.
To complete this lab, you need:
- Access to a standard internet browser (Chrome browser recommended).
- Time to complete the lab---remember, once you start, you cannot pause a lab.
How to start your lab and sign in to the Google Cloud console
-
Click the Start Lab button. If you need to pay for the lab, a pop-up opens for you to select your payment method. On the left is the Lab Details panel with the following:
- The Open Google Cloud console button
- Time remaining
- The temporary credentials that you must use for this lab
- Other information, if needed, to step through this lab
-
Click Open Google Cloud console (or right-click and select Open Link in Incognito Window if you are running the Chrome browser).
The lab spins up resources, and then opens another tab that shows the Sign in page.
Tip: Arrange the tabs in separate windows, side-by-side.
Note: If you see the Choose an account dialog, click Use Another Account. -
If necessary, copy the Username below and paste it into the Sign in dialog.
{{{user_0.username | "Username"}}} You can also find the Username in the Lab Details panel.
-
Click Next.
-
Copy the Password below and paste it into the Welcome dialog.
{{{user_0.password | "Password"}}} You can also find the Password in the Lab Details panel.
-
Click Next.
Important: You must use the credentials the lab provides you. Do not use your Google Cloud account credentials. Note: Using your own Google Cloud account for this lab may incur extra charges. -
Click through the subsequent pages:
- Accept the terms and conditions.
- Do not add recovery options or two-factor authentication (because this is a temporary account).
- Do not sign up for free trials.
After a few moments, the Google Cloud console opens in this tab.

Activate Cloud Shell
Cloud Shell is a virtual machine that is loaded with development tools. It offers a persistent 5GB home directory and runs on the Google Cloud. Cloud Shell provides command-line access to your Google Cloud resources.
- Click Activate Cloud Shell
at the top of the Google Cloud console.
When you are connected, you are already authenticated, and the project is set to your Project_ID,
gcloud is the command-line tool for Google Cloud. It comes pre-installed on Cloud Shell and supports tab-completion.
- (Optional) You can list the active account name with this command:
- Click Authorize.
Output:
- (Optional) You can list the project ID with this command:
Output:
gcloud, in Google Cloud, refer to the gcloud CLI overview guide.
Task 1. Enable the Document AI API
Before you can begin using Document AI, you must enable the API.
-
Open Cloud Shell by clicking the Activate Cloud Shell button at the top of the console.
-
In Cloud Shell, run the following commands to enable the API for Document AI.
You should see something like this:
You will also need to install Pandas, an Open Source Data Analysis library for Python.
- Run the following command to install Pandas.
- Run the following command to install the Python client libraries for Document AI.
You should see something like this:
Now, you're ready to use the Document AI API!
Click Check my progress to verify the objective.
Task 2. Create a Form Parser processor
You must first create a Form Parser processor instance to use in the Document AI Platform for this tutorial.
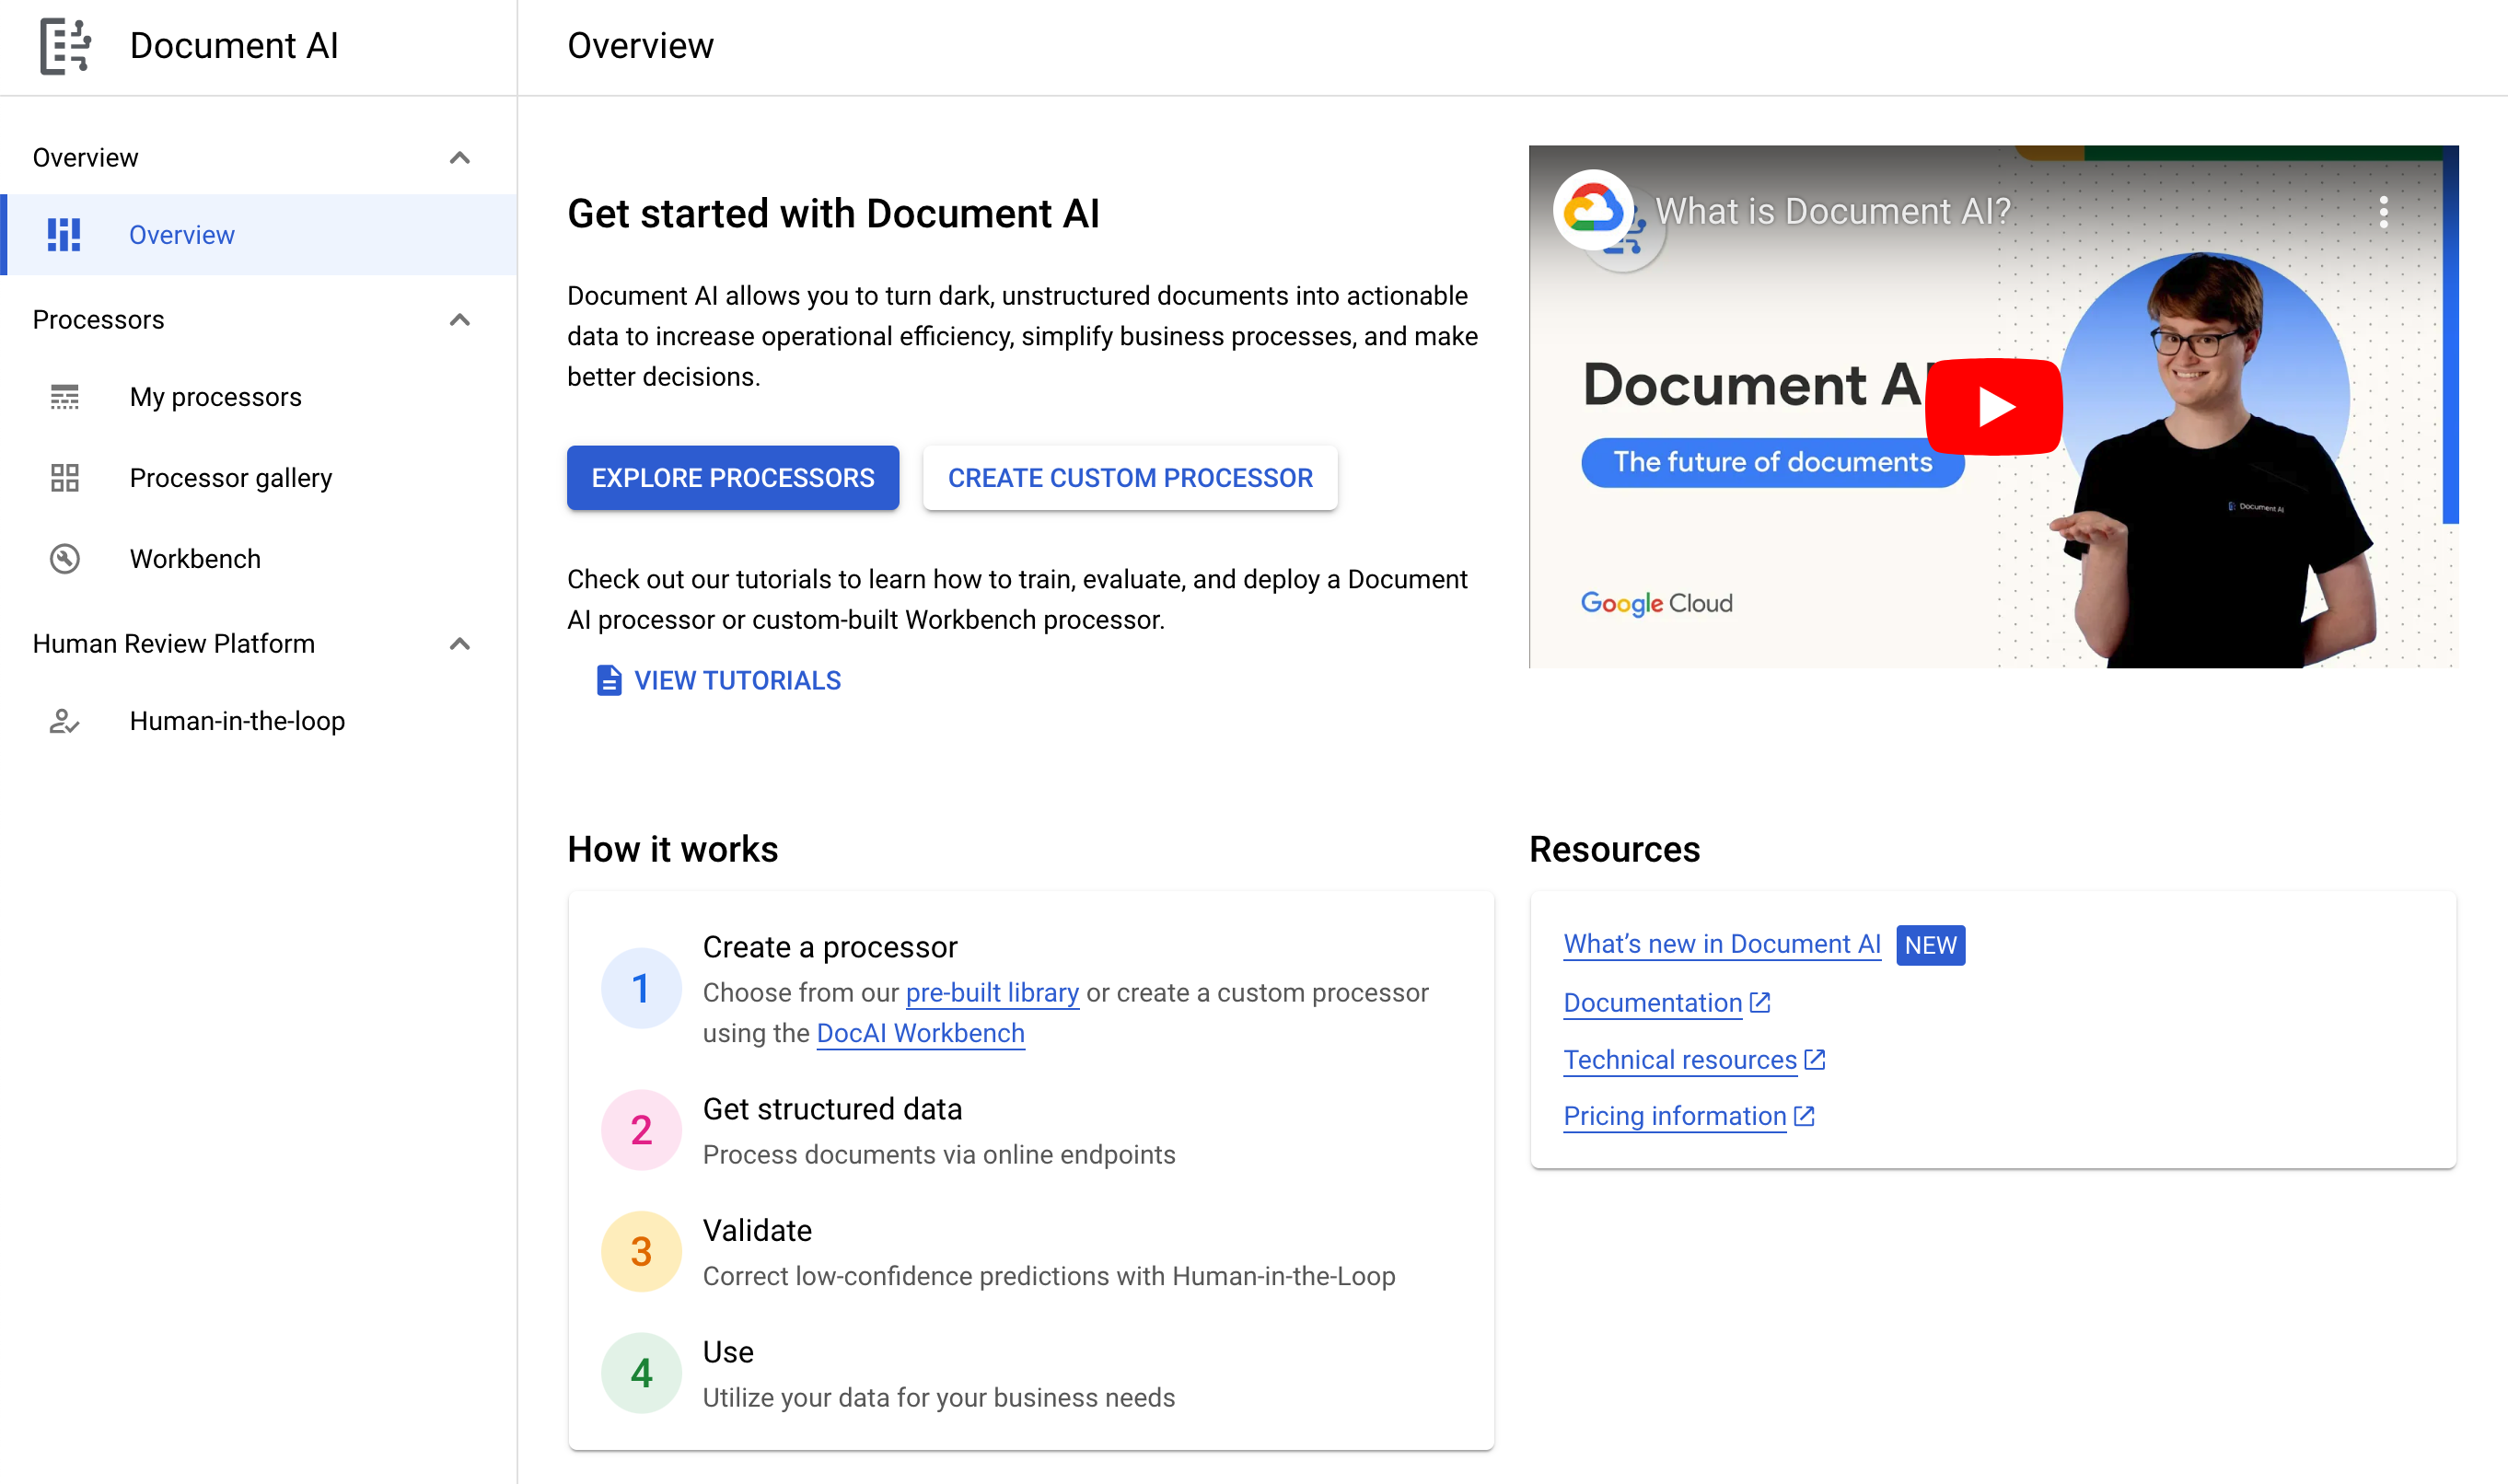
- From the Navigation Menu, under Artificial Intelligence, select Document AI.
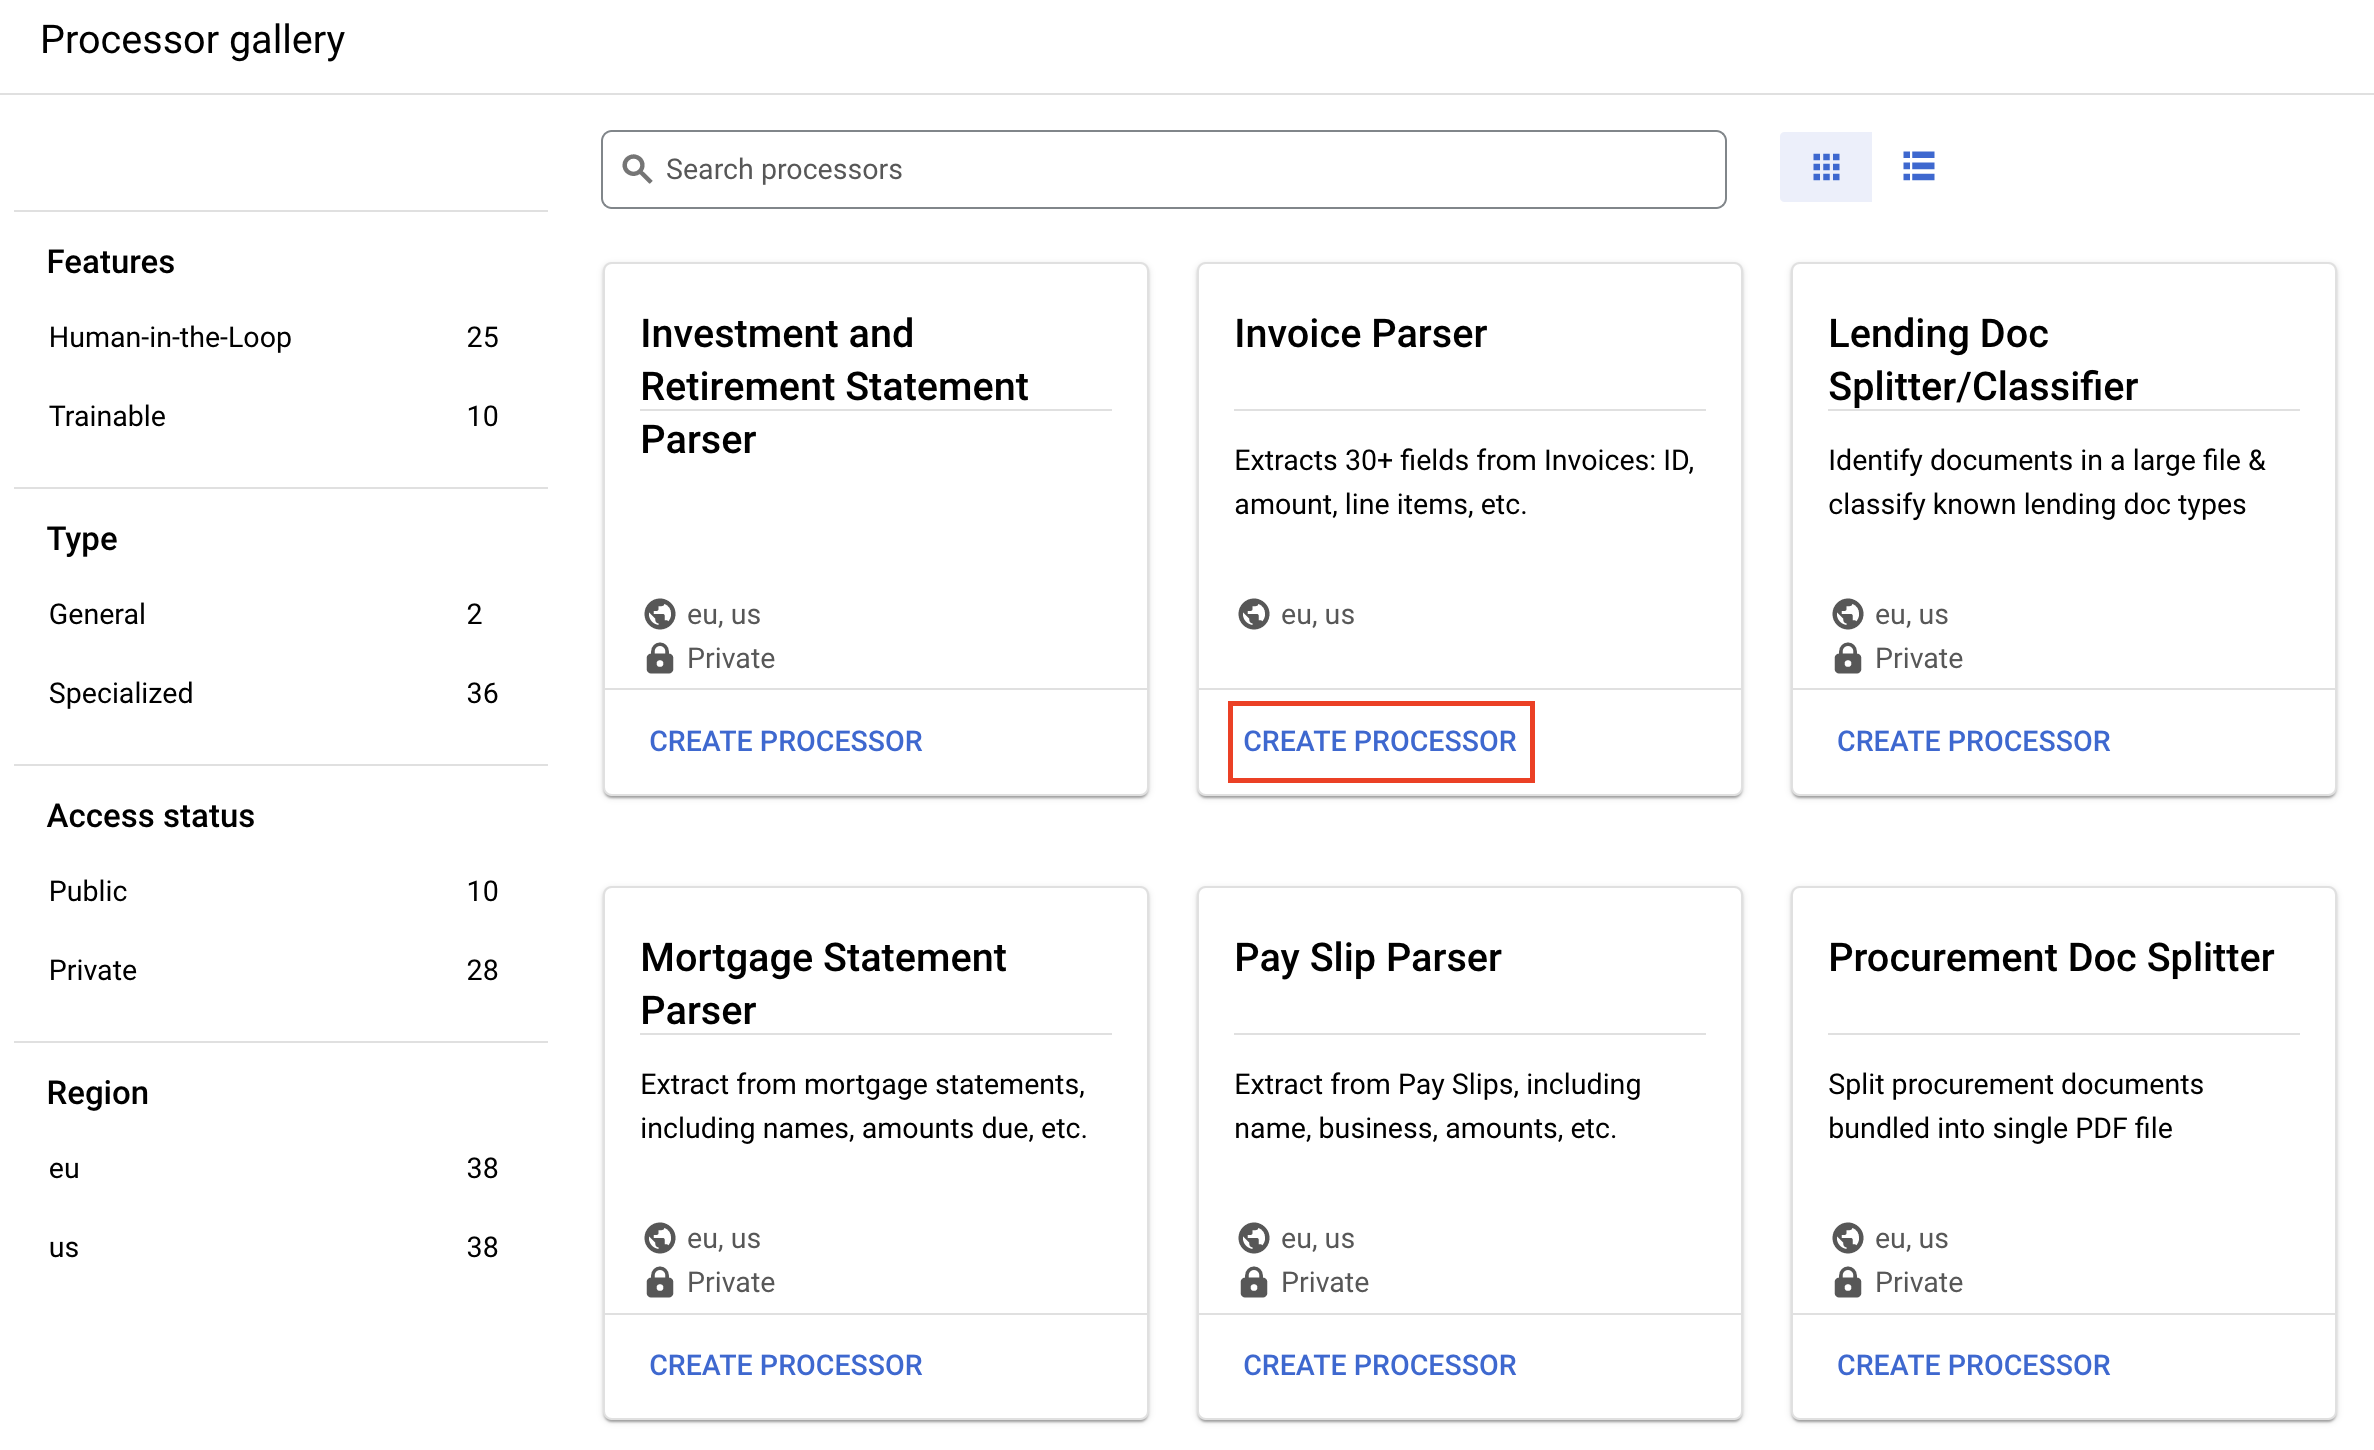
- Click Explore Processors, scroll down to Specialized and and inside Invoice Parser, click Create Processor.
-
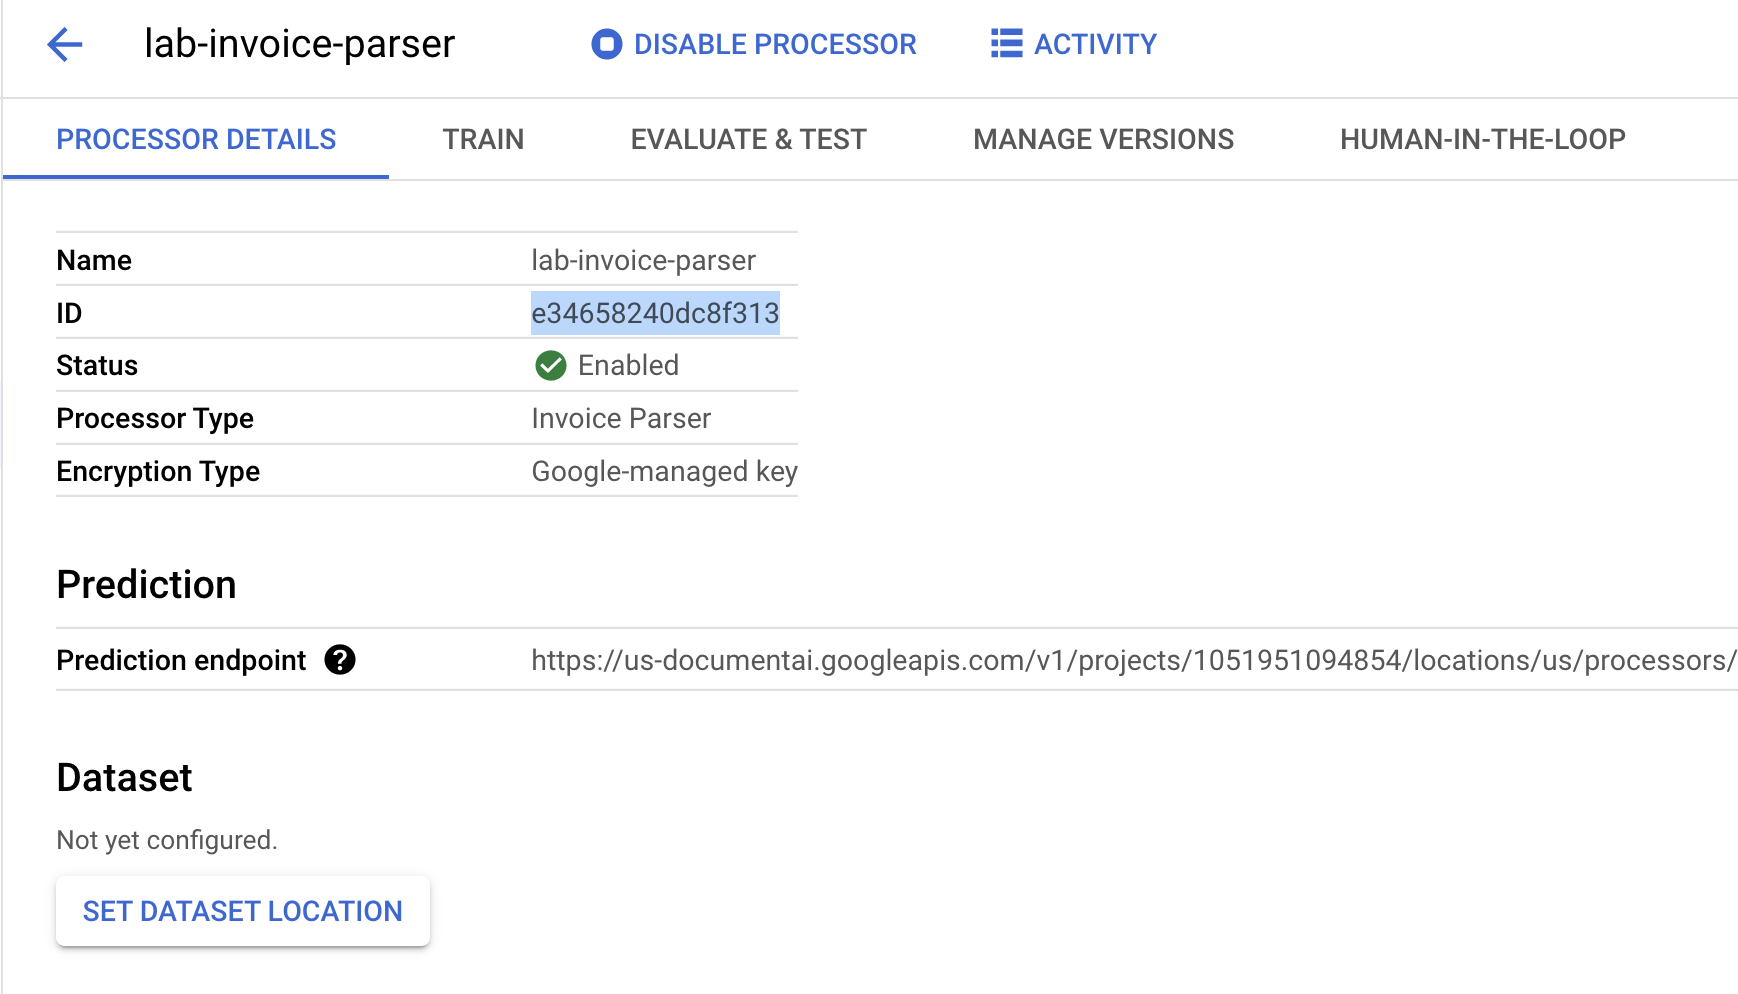
Give it the name
lab-invoice-parserand select the closest region on the list. -
Click Create to create your processor.
-
Copy your Processor ID. You must use this in your code later
Download sample documents
We have a few sample documents which you can use for this lab.
- Run the following command to download the sample forms to Cloud Shell.
- Confirm the files are downloaded to Cloud Shell using the below command:
You should see something like this:
Task 3. Extract the entities
Now you can extract the schematized entities from the files, including confidence scores, properties, and normalized values.
The code for making the API request is identical to the previous step, and it can be done with online or batch requests.
You will access the following information from the entities:
-
Entity Type
- (e.g.
invoice_date,receiver_name,total_amount)
- (e.g.
-
Raw Values
- Data values as presented in the original document file.
-
Normalized Values
- Data values in a normalized and standard format, if applicable.
- Also can include enrichment from Enterprise Knowledge Graph
-
Confidence Values
- How "sure" the model is that the values are accurate.
Some entity types, such as line_item can also include properties which are nested entities such as line_item/unit_price and line_item/description. This example flattens out the nested structure for ease of viewing.
Invoice Parser
- In Cloud Shell, create a file called
extraction.pyand paste the following code into it:
-
Replace
INVOICE_PARSER_IDwith the ID for the Invoice Parser Processor you created earlier and use the filegoogle_invoice.pdf. -
Replace
YOUR_PROJECT_IDandYOUR_PROJECT_LOCATIONwith your Google Cloud Project ID and Processor location, respectively. -
Run the script:
Your output should look something like this:
- Create a Cloud Storage bucket, and upload the generated output of the command
docai_outputs.txtto the bucket.
Optional: Try out other specialized processors
You've successfully used Document AI for Procurement to classify documents and parse an invoice. Document AI also supports the other specialized solutions listed here:
You can follow the same procedure and use the same code to handle any specialized processor.
If you would like to try out the other specialized solutions, you can re-run the lab with other processor types and specialized sample documents.
Sample Documents
Here are some sample documents you can use to try out the other specialized processors.
| Solution | Processor Type | Document |
|---|---|---|
| Identity | US Driver License Parser | |
| Lending | Lending Splitter & Classifier | |
| Lending | W9 Parser | |
| Contracts | Contract Parser |
You can find other sample documents and processor output in the documentation.
Congratulations!
Congratulations! You've successfully used Document AI to parse an invoice. You also learned how to use the Python Client Library to call the Document AI API.
Next steps/Learn more
Check out the following resources to learn more about Document AI and the Python Client Library:
- The Future of Documents - YouTube Playlist
- Document AI Documentation
- Document AI Python Client Library
- Document AI Samples
Google Cloud training and certification
...helps you make the most of Google Cloud technologies. Our classes include technical skills and best practices to help you get up to speed quickly and continue your learning journey. We offer fundamental to advanced level training, with on-demand, live, and virtual options to suit your busy schedule. Certifications help you validate and prove your skill and expertise in Google Cloud technologies.
Manual Last Updated: October 19, 2023
Lab Last Tested: October 19, 2023
Copyright 2024 Google LLC All rights reserved. Google and the Google logo are trademarks of Google LLC. All other company and product names may be trademarks of the respective companies with which they are associated.


