チェックポイント
Enable required API
/ 10
Create a website search app
/ 30
Create a structured data search app
/ 30
Create an unstructured data search app
/ 30
Integrate Search in Applications using Vertex AI Search
GSP1152

Overview
Enterprise Search on Vertex AI Search & Conversation (Search & Conversation) brings together the power of deep information retrieval, state-of-the-art natural language processing, and the latest in large language processing to understand user intent and return the most relevant results for the user.
In this lab you will learn how to create a search application based on:
- websites
- structured data
- unstructured data
then configure, visualize, and analyze the search results that are returned from the search app.
Objectives
In this lab, you will learn how to perform the following tasks:
- Index public website data, structured and unstructured data.
- Perform search on your indexed data.
- Configure the display of your search results.
- View analytics on your search.
- Integrate Enterprise Search with your web application.
Setup and requirements
Before you click the Start Lab button
Read these instructions. Labs are timed and you cannot pause them. The timer, which starts when you click Start Lab, shows how long Google Cloud resources will be made available to you.
This hands-on lab lets you do the lab activities yourself in a real cloud environment, not in a simulation or demo environment. It does so by giving you new, temporary credentials that you use to sign in and access Google Cloud for the duration of the lab.
To complete this lab, you need:
- Access to a standard internet browser (Chrome browser recommended).
- Time to complete the lab---remember, once you start, you cannot pause a lab.
How to start your lab and sign in to the Google Cloud console
-
Click the Start Lab button. If you need to pay for the lab, a pop-up opens for you to select your payment method. On the left is the Lab Details panel with the following:
- The Open Google Cloud console button
- Time remaining
- The temporary credentials that you must use for this lab
- Other information, if needed, to step through this lab
-
Click Open Google Cloud console (or right-click and select Open Link in Incognito Window if you are running the Chrome browser).
The lab spins up resources, and then opens another tab that shows the Sign in page.
Tip: Arrange the tabs in separate windows, side-by-side.
Note: If you see the Choose an account dialog, click Use Another Account. -
If necessary, copy the Username below and paste it into the Sign in dialog.
{{{user_0.username | "Username"}}} You can also find the Username in the Lab Details panel.
-
Click Next.
-
Copy the Password below and paste it into the Welcome dialog.
{{{user_0.password | "Password"}}} You can also find the Password in the Lab Details panel.
-
Click Next.
Important: You must use the credentials the lab provides you. Do not use your Google Cloud account credentials. Note: Using your own Google Cloud account for this lab may incur extra charges. -
Click through the subsequent pages:
- Accept the terms and conditions.
- Do not add recovery options or two-factor authentication (because this is a temporary account).
- Do not sign up for free trials.
After a few moments, the Google Cloud console opens in this tab.

Task 1. Enable APIs for Vertex AI API
-
In Cloud console, from the Navigation menu go to APIs & Services > Enabled APIs & services.
-
Click on the +Enable APIs and services button at the top fo the screen.
-
Search for Discovery Engine API, then choose the first entry and click on Enable.
Click Check my progress to verify the objective.
Task 2. Create and Preview a website search app
A website search app makes it easier for users to find the information they are looking for on your website.
Create a search engine and data store
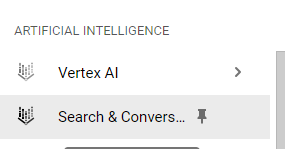
- Navigate to Search & Conversation in the left menu of Cloud console. If asked to enable APIs on the resulting page click the button to do so.
-
On the resulting page. Click CREATE A NEW APP.
-
On the Create App page, make sure Search is selected, leave all settings as is and enter the following for the Your app name and Company Name fields:
Click Continue.
-
On the Create a data store for your app page, click +CREATE NEW DATA STORE then select Website URLs as data source.
-
On the Specify the websites for your data store page, in the Sites to include field, enter:
Click Continue.
- On the Configure your data store page, in the Data store name field, enter:
Website
Click CREATE.
- On the data page, make sure Website is selected, and then click Create.
Click Check my progress to verify the objective.
Preview the website search app
- In the side panel, go to Preview, enter:
Document AI
Then press Enter.
- Click the view icons to switch between mobile view and desktop view.

You created a search engine and a data store where you indexed a website and then performed a search across that website.
Task 3. Create and Preview a structured data search app
Structured data can be used to make website content more visible to search enegines. A structured data search app improves the discoverablity of website conetent and provides users with a more relavant seach experience.
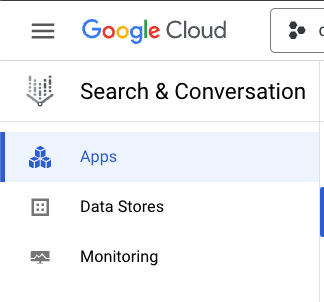
- Click the
Search & Conversationlogo to navigate back to the Apps page.
-
Click +NEW APP.
-
On the Create your new app page, make sure Search is selected, enter:
in the Your app name and Company Name fields, then click Continue.
-
On the Select a data store for your app page, click +CREATE NEW DATA STORE then select Cloud Storage as data source.
-
In the Import data from Cloud Storage pane, enter the following value:
This Cloud Storage bucket contains an NDJSON-formatted dataset of movies made available by Kaggle.
-
Select the JSONL for structured data (Preview) radio option and then click CONTINUE.
-
On the Configure your data store page, in the Data store name field, enter:
Then click CREATE.
-
On the data page for your app, click Structured data , and then click CREATE.
-
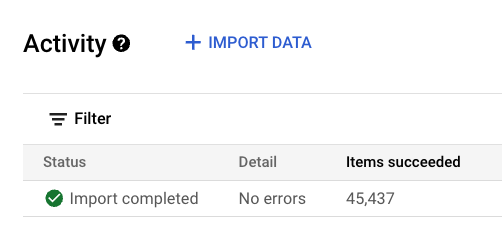
Click ACTIVITY.
Upon success you will see the Status column change to Succeeded as shown in the image below:
-
Click the DOCUMENTS tab to see the number of documents imported.
-
Click the Schema tab to see the auto-generated schema for your dataset. Notice that for auto-genared schemas all fields are retrievable, indexable, facetable and searchable.

Preview the Movies search app and Configure the search results display
-
In the navigation menu, click Preview to test the search app.
-
In the search bar, enter:
Then press Enter to view the results.
Notice that the full schema is returned. Often times you will not need to display all of the items returned by the full schema. To customize the values to display, Vertex AI Search & Conversation allows you to configure only the values you want to display. You will see how this is achieved in the next steps.
-
In the navigation menu, click Configurations.
-
Open the Configure fields in results drop down and map fields in your data store to the attributes to be displayed in search results:
| Key | Value |
|---|---|
| Title | title |
| Thumbnail | poster_path |
| URL | homepage |
| Tex 1 | tagline |
| Tex 2 | release_date |
- Click SAVE AND PUBLISH.
Click Check my progress to verify the objective.
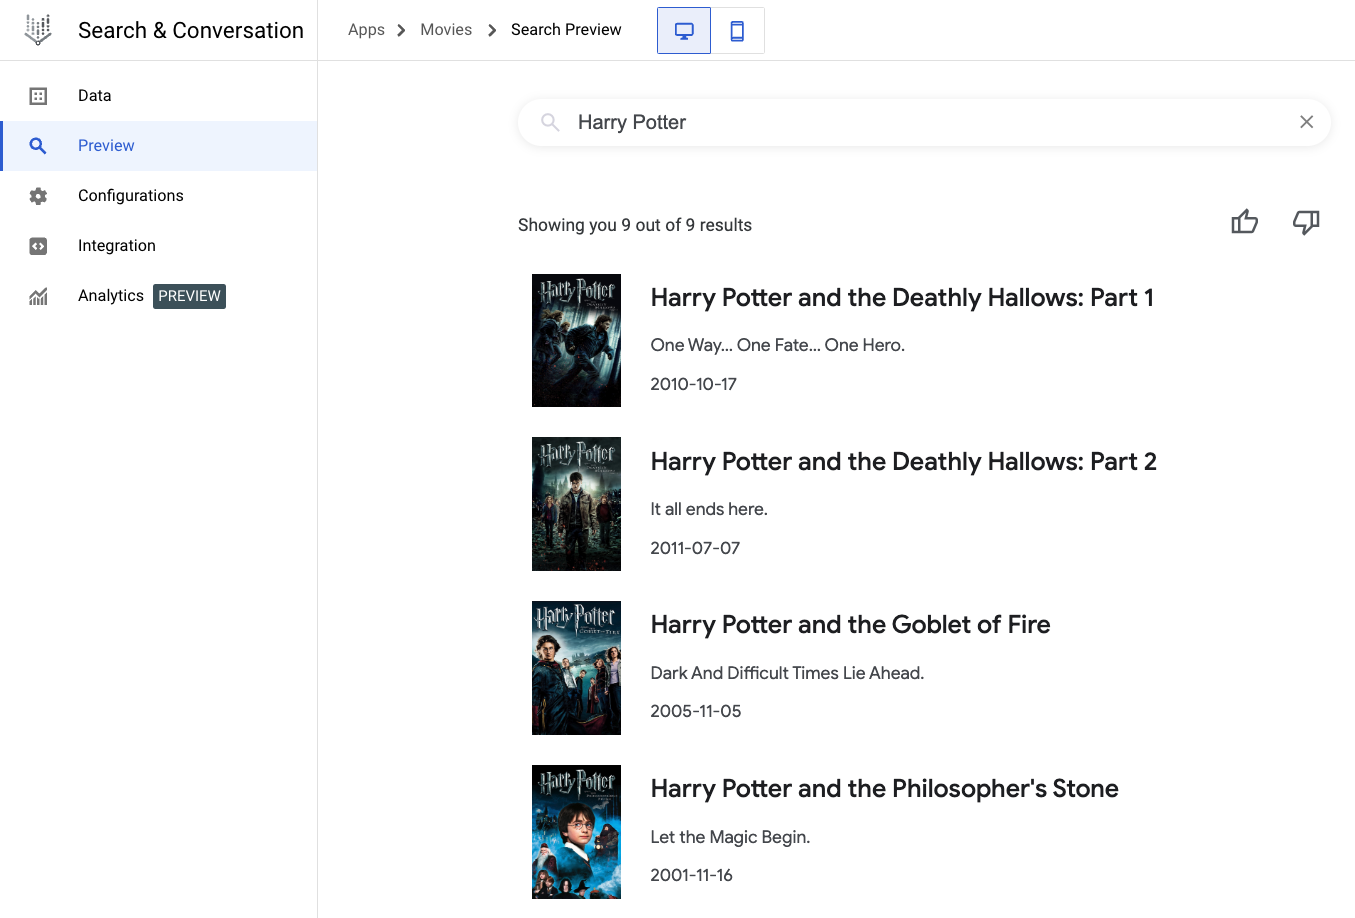
- In the search bar under Preview write:
And press Enter.
The output results have been formatted according to the fields you configured and should look similar to the results pictured below.
Integration
In this section you will review available methods of integrating configured search capabilities into your web or server based applications.
Web
- In the navigation menu, click Integration. The resulting landing page is for Web based integrations.
You will notice that you can copy and paste the provided HTML code snippet into a webpage to consume the search capability confgured in the previous sections.
You can also select the Authentication mechanism used to allow users to interact with the search widget. Select JWT or OAuth Based or Public Access depending on your needs. If using JWT or OAuth Based you will need to configure your application to provide a JSON Web Token or an OAuth token provided by your backend. See Add a widget with an authorization token for more details.
You can also restrict the widget's usage to specific domains specified in the Add allowed domains for the widget list.
- Next, click on the API tab.
Task 4. Create and Preview an unstructured data search app
Unstructured data is data that does not have a predefined format. This type of data can be difficult to search for using traditional search engines. An unstructured data search app can be used to make this data more accessible to use and gain insights that can be used to improve business operations.
-
From the Navigation Menu go to Search & Conversation.
-
Click +New app.
-
On the Create App page, make sure Search is selected, for Your app name and Company Name fields enter:
Then click Continue.
-
On the Select a data store for your app page, click +CREATE NEW DATA STORE then select Cloud Storage as data source.
-
In the Import data from Cloud Storage pane, enter the following value:
This Cloud Storage bucket contains earnings report PDFs from the Alphabet investor site.
-
Make sure to select Unstructured documents and then click CONTINUE.
-
On the Configure your data store page, in the Data store name field, enter:
Then, click CREATE.
-
On the Data page for your app, select Unstructured data then click CREATE.
-
Click ACTIVITY.
Import completed displays in the Status column when the import process is finished. You might need to click Refresh to see Import completed.
- Click the DOCUMENTS tab to see the number of documents imported.
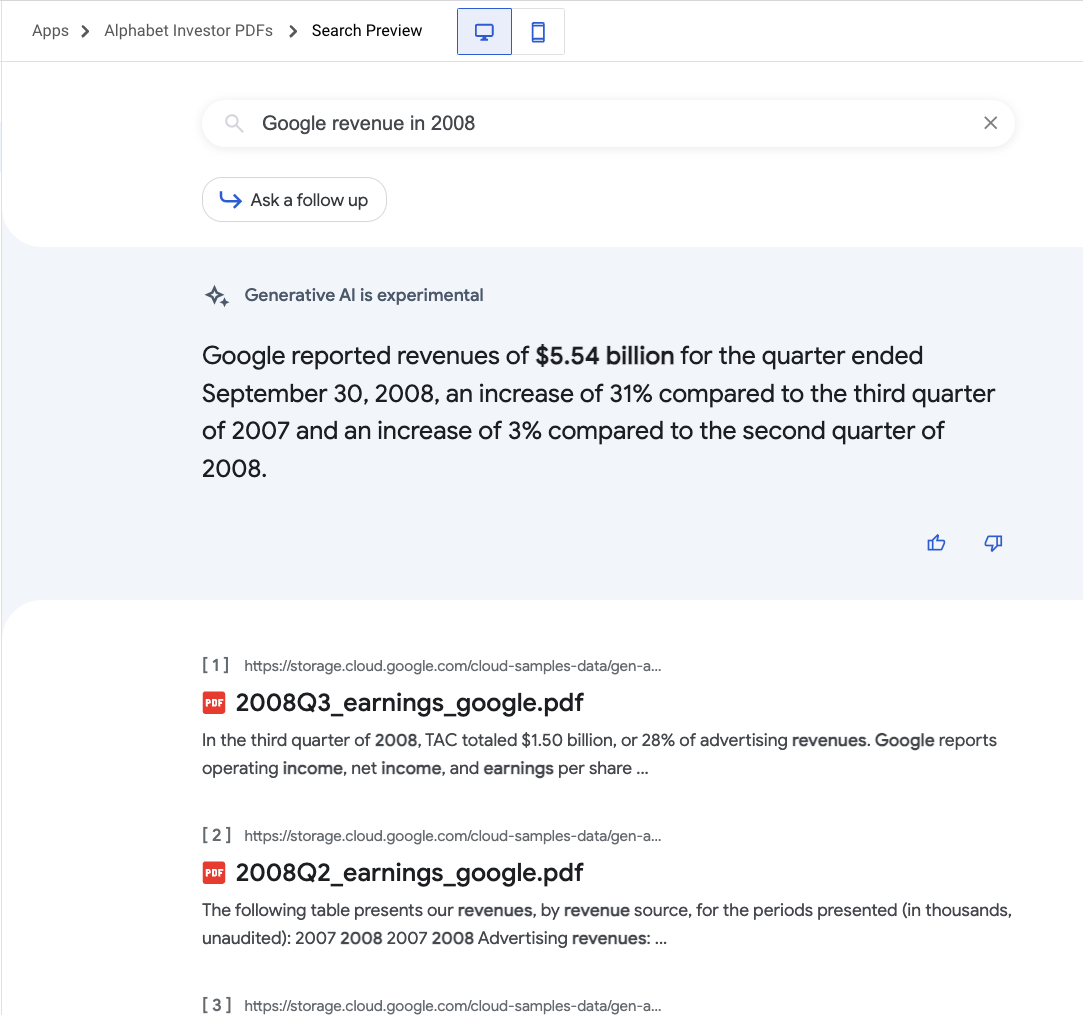
Preview the Alphabet Investor PDFs search app
-
In the navigation menu, click Preview to test the search app.
-
In the search bar, enter Google revenue in 2008, and then press Enter to view your results. Notice the summary as well as the results.
Below is an example of search results for the query provided.
Click Check my progress to verify the objective.
Congratulations!
You learned how to create different type of data stores in Enterprise Search for Vertex AI Search & Conversation. You also configured how the search outputs look like. Finally, you saw how to create integrations with your web applications and saw the performance and usage of the search engine via Analytics.
Next steps
- Learn more about Vertex AI on the Google Cloud Tech YouTube channel.
Google Cloud training and certification
...helps you make the most of Google Cloud technologies. Our classes include technical skills and best practices to help you get up to speed quickly and continue your learning journey. We offer fundamental to advanced level training, with on-demand, live, and virtual options to suit your busy schedule. Certifications help you validate and prove your skill and expertise in Google Cloud technologies.
Manual Last Updated February 09, 2024
Lab Last Tested February 09, 2024
Copyright 2024 Google LLC All rights reserved. Google and the Google logo are trademarks of Google LLC. All other company and product names may be trademarks of the respective companies with which they are associated.