Checkpoints
Deploy GKE clusters
/ 30
Deploy Pods to GKE clusters
/ 35
Deploy a new pod using a Yaml file
/ 35
Deploying GKE Autopilot Clusters from Cloud Shell
Overview
In this lab, you use the command line to build GKE clusters. You inspect the kubeconfig file, and you use kubectl to manipulate the cluster.
Objectives
In this lab, you learn how to perform the following tasks:
- Use
kubectlto build and manipulate GKE clusters - Use
kubectland configuration files to deploy Pods - Use Container Registry to store and deploy containers
Lab setup
Access Qwiklabs
For each lab, you get a new Google Cloud project and set of resources for a fixed time at no cost.
-
Sign in to Qwiklabs using an incognito window.
-
Note the lab's access time (for example,
1:15:00), and make sure you can finish within that time.
There is no pause feature. You can restart if needed, but you have to start at the beginning. -
When ready, click Start lab.
-
Note your lab credentials (Username and Password). You will use them to sign in to the Google Cloud Console.
-
Click Open Google Console.
-
Click Use another account and copy/paste credentials for this lab into the prompts.
If you use other credentials, you'll receive errors or incur charges. -
Accept the terms and skip the recovery resource page.
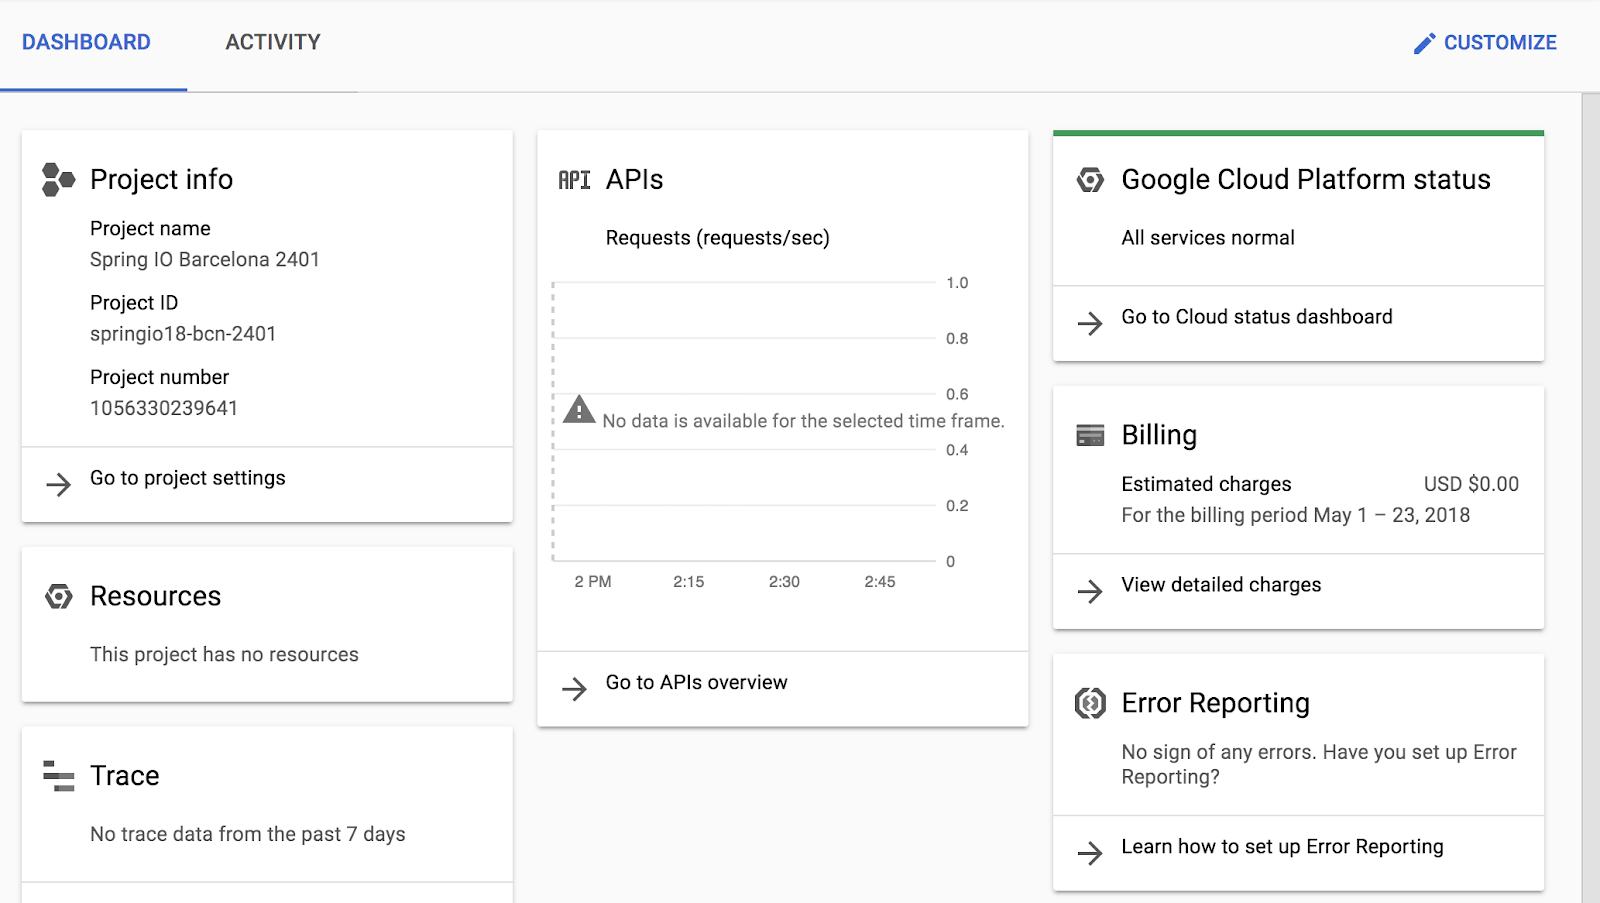
After you complete the initial sign-in steps, the project dashboard appears.
Open Cloud Shell
You will do most of the work in Cloud Shell. Cloud Shell is a command-line environment running in Google Cloud. This Debian-based virtual machine is loaded with all the management tools you need (such as docker, gcloud,gsutil, and kubectl) and provides a persistent 5GB home directory.
- On the Google Cloud console title bar, click Activate Cloud Shell (
).
- Click Continue.
After a moment of provisioning, the Cloud Shell prompt appears:

Task 1. Deploy GKE clusters
In this task, you use Cloud Shell to deploy GKE clusters.
- In Cloud Shell, type the following command to set the environment variable for the zone and cluster name:
- In Cloud Shell, type the following command to create a Kubernetes cluster:
This form of the command sets most options to their defaults. To view the entire set of possible options, refer to the gcloud container clusters create reference.
You will see a number of warnings highlighting changes to default GKE cluster settings that were introduced as newer versions of Kubernetes have been adopted by GKE.
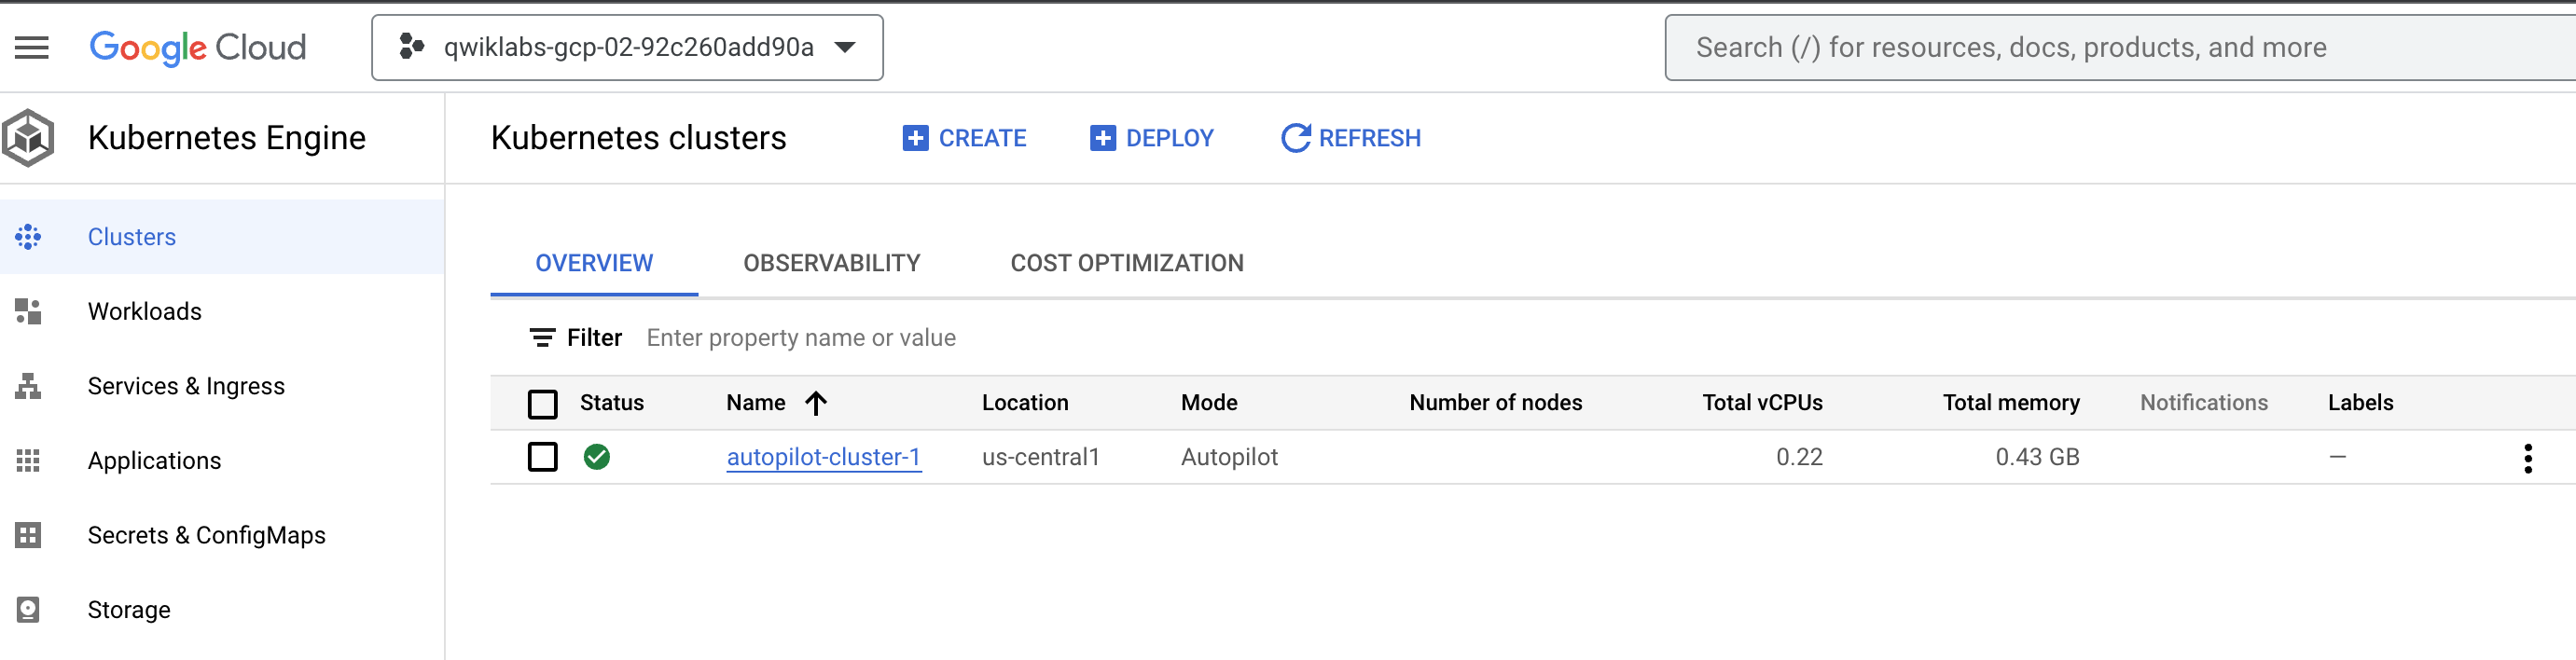
When deployment is complete, the Google Cloud console Kubernetes Engine > Clusters page should look like this screenshot:
Click Check my progress to verify the objective.
Task 2. Connect to a GKE cluster
In this task, you use Cloud Shell to authenticate to a GKE cluster and then inspect the kubectl configuration files.
Authentication in Kubernetes applies both to communicating with the cluster from an external client through the kube-APIserver running on the master and to cluster containers communicating within the cluster or externally.
In Kubernetes, authentication can take several forms. For GKE, authentication is typically handled with OAuth2 tokens and can be managed through Cloud Identity and Access Management across the project as a whole and, optionally, through role-based access control which can be defined and configured within each cluster.
In GKE, cluster containers can use service accounts to authenticate to and access external resources.
- To create a kubeconfig file with the credentials of the current user (to allow authentication) and provide the endpoint details for a specific cluster (to allow communicating with that cluster through the
kubectlcommand-line tool), execute the following command:
This command creates a .kube directory in your home directory if it doesn't already exist. In the .kube directory, the command creates a file named config if it doesn't already exist, which is used to store the authentication and configuration information. The config file is typically called the kubeconfig file.
- Open the kubeconfig file with the nano text editor:
You can now examine all of the authentication and endpoint configuration data stored in the file. Information for the cluster should appear. The information was populated during cluster creation.
- Press CTRL+X to exit the nano editor.
kubectl commands manipulate) is indicated by the current-context property.
You don't have to run the gcloud container clusters get-credentials command to populate the kubeconfig file for clusters that you created in the same context (the same user in the same environment), because those clusters already have their details populated when the cluster is created. But you do have to run the command to connect to a cluster created by another user or in another environment. The command is also an easy way to switch the active context to a different cluster.
Task 3. Use kubectl to inspect a GKE cluster
In this task, you use Cloud Shell and kubectl to inspect a GKE cluster.
After the kubeconfig file is populated and the active context is set to a particular cluster, you can use the kubectl command-line tool to execute commands against the cluster. Most such commands ultimately trigger a REST API call against the master API server, which triggers the associated action.
- In Cloud Shell, execute the following command to print out the content of the kubeconfig file:
The sensitive certificate data is replaced with DATA+OMITTED.
- In Cloud Shell, execute the following command to print out the cluster information for the active context:
The output describes the active context cluster.
Output:
- In Cloud Shell, execute the following command to print out the active context:
A line of output indicates the active context cluster.
Output:
PROJECT_ID is your project ID. This information is the same as the information in the current-context property of the kubeconfig file.
- In Cloud Shell, execute the following command to print out some details for all the cluster contexts in the kubeconfig file:
Several lines of output indicate details about the cluster you created and indicate which is the active context cluster. In general, this command lists some details of the clusters present in the user's kubeconfig file, including any other clusters that were created by the user as well as any manually added to the kubeconfig file.
- In Cloud Shell, execute the following command to change the active context:
In this case you have only one cluster, so this command didn't change anything.
However, in the future you may have more than one cluster in a project. You can use this approach to switch the active context when your kubeconfig file has the credentials and configuration for several clusters already populated. This approach requires the full name of the cluster, which includes the gke prefix, the project ID, the location, and the display name, all concatenated with underscores.
- In Cloud Shell, execute the following command to enable bash autocompletion for
kubectl:
This command produces no output.
- In Cloud Shell, type kubectl followed by a space and press the Tab key twice.
The shell outputs all the possible commands:

- In Cloud Shell, type kubectl co and press the Tab key twice.
The shell outputs all commands starting with "co" (or any other text you type).

Task 4. Deploy Pods to GKE clusters
In this task, you use Cloud Shell to deploy Pods to GKE clusters.
Use kubectl to deploy Pods to GKE
Kubernetes introduces the abstraction of a Pod to group one or more related containers as a single entity to be scheduled and deployed as a unit on the same node. You can deploy a Pod that is a single container from a single container image. Or a Pod can contain many containers from many container images.
- In Cloud Shell, execute the following command to deploy nginx as a Pod named nginx-1:
This command creates a Pod named nginx with a container running the nginx image. When a repository isn't specified, the default behavior is to try to find the image either locally or in the Docker public registry. In this case, the image is pulled from the Docker public registry.
- In Cloud Shell, execute the following command to view all the deployed Pods in the active context cluster:
The output should look like the following example, but with a slightly different Pod name.
Output:
- In Cloud Shell, execute the following command to view the resource usage across the nodes of the cluster:
The output should look like the following example.
Output:
Another top command (kubectl top pods) shows similar information across all the deployed Pods in the cluster.
- You will now enter your Pod name into a variable that we will use throughout this lab. Using variables like this can help you minimize human error when typing long names. You must type your Pod's unique name in place of
[your_pod_name]:
Example:
- Confirm that you have set the environment variable successfully by having the shell echo the value back to you:
Output:
- In Cloud Shell, execute the following command to view the complete details of the Pod you just created:
The output should look like the following example. Details of the Pod, as well as its status and conditions and the events in its lifecycle, are displayed.
Output:
Push a file into a container
To be able to serve static content through the nginx web server, you must create and place a file into the container.
- In Cloud Shell, type the following commands to open a file named
test.htmlin the nano text editor:
- Add the following text (shell script) to the empty
test.htmlfile:
-
Press CTRL+X, then press Y and enter to save the file and exit the nano editor.
-
In Cloud Shell, execute the following command to place the file into the appropriate location within the nginx container in the nginx Pod to be served statically:
This command copies the test.html file from the local home directory to the /usr/share/nginx/html directory of the first container in the nginx Pod. You can specify other containers in a multi-container Pod by using the -c option, followed by the name of the container.
Expose the Pod for testing
A service is required to expose a Pod to clients outside the cluster. Services are discussed elsewhere in the course and used extensively in other labs. You can use a simple command to create a service to expose a Pod.
- In Cloud Shell, execute the following command to create a service to expose our nginx Pod externally:
This command creates a LoadBalancer service, which allows the nginx Pod to be accessed from internet addresses outside of the cluster.
- In Cloud Shell, execute the following command to view details about services in the cluster:
The output should look like the following example. You use the external IP address in the next step.
Output:
The Kubernetes service is one of the default services created or used by the cluster. The nginx service that you created is also displayed.
You may need to re-run this command several times before the external IP address is displayed.
Output:
Click Check my progress to verify the objective.
- In Cloud Shell, execute the following command to verify that the nginx container is serving the static HTML file that you copied.
You replace [EXTERNAL_IP] with the external IP address of your service that you obtained from the output of the previous step.
The file contents appear in the output. You can go to the same address in your browser to see the file rendered as HTML.
Example:
- In Cloud Shell, execute the following command to view the resources being used by the nginx Pod:
Output:
Task 5. Introspect GKE Pods
In this task, you connect to a Pod to adjust settings, edit files, and make other live changes to the Pod.
Prepare the environment
The preferred way of deploying Pods and other resources to Kubernetes is through configuration files, which are sometimes called manifest files. Configuration files are typically written in the YAML syntax, specifying the details of the resource. With configuration files, you can more easily specify complex options than with a long line of command-line arguments.
YAML syntax is similar to, but more concise than, JSON syntax and it enables the same kind of hierarchical structuring of objects and properties. The source repository for the lab contains sample YAML files that have been prepared for you.
- In Cloud Shell, enter the following command to clone the repository to the lab Cloud Shell:
- Create a soft link as a shortcut to the working directory:
- Change to the directory that contains the sample files for this lab:
A sample manifest YAML file for a Pod called new-nginx-pod.yaml has been provided for you:
- To deploy your manifest, execute the following command:
Click Check my progress to verify the objective.
- To see a list of Pods, execute the following command:
The output should look like the example.
Output:
You can see your new nginx Pod as well as the one we created earlier in the lab.
Use shell redirection to connect to a Pod
Some container images include a shell environment that you can launch. This shell environment might be more convenient than executing individual commands with kubectl. For instance, the nginx image includes a bash shell. In this task you use shell redirection to connect to the bash shell in your new nginx pod to carry out a sequence of actions.
- In Cloud Shell, execute the following command to start an interactive bash shell in the nginx container:
A new shell prompt appears.
Output:
You have started an interactive bash shell in the container of the new-nginx Pod. If the Pod had several containers, you could specify one by name with the -c option.
Because the nginx container image has no text editing tools by default, you need to install one.
- In Cloud Shell, in the nginx bash shell, execute the following commands to install the nano text editor:
When prompted with Do you want to continue (Y/n), press Y to confirm.
You need to create a test.html file in the static served directory on the nginx container.
- In Cloud Shell, in the nginx bash shell, execute the following commands to switch to the static files directory and create a
test.htmlfile:
- In Cloud Shell, in the nginx bash shell nano session, type the following text:
- Press CTRL+X, then press Y and enter to save the file and exit the nano editor.
- In Cloud Shell, in the nginx bash shell, execute the following command to exit the nginx bash shell:
To connect to and test the modified nginx container (with the new static HTML file), you could create a service. An easier way is to use port forwarding to connect to the Pod directly from Cloud Shell.
- In Cloud Shell, execute the following command to set up port forwarding from Cloud Shell to the nginx Pod (from port 10081 of the Cloud Shell VM to port 80 of the nginx container):
The output should look like the example.
Output:
This is a foreground process, so you need to open another Cloud Shell instance to test.
- In the Cloud Shell menu bar, click the plus sign (+) icon to start a new Cloud Shell session.
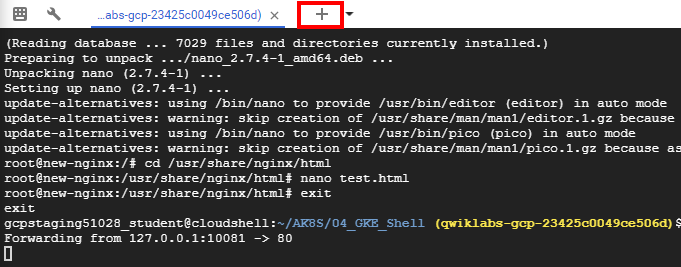
A second Cloud Shell session appears in your Cloud Shell window. You can switch between sessions by clicking the titles in the menu bar.
- In the second Cloud Shell session, execute the following command to test the modified nginx container through the port forwarding:
The HTML text you placed in the test.html file is displayed.
View the logs of a Pod
- In the Cloud Shell menu bar, click the plus sign (+) icon to start another new Cloud Shell session.
A third Cloud Shell session appears in your Cloud Shell window. As before, you can switch sessions by clicking them in the menu bar.
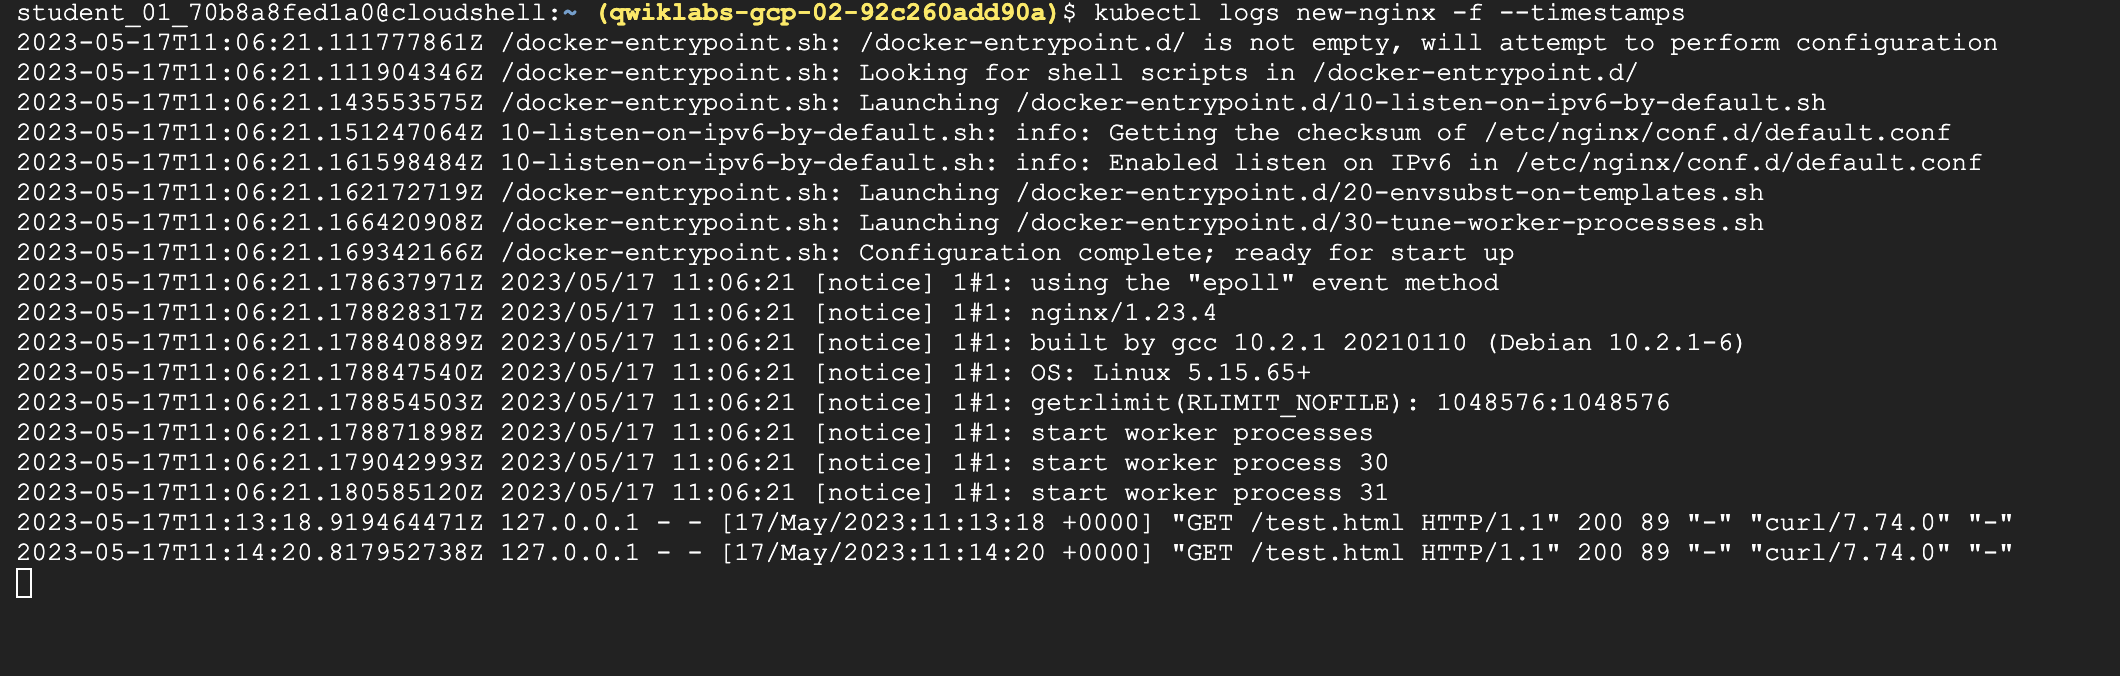
- In the third Cloud Shell window, execute the following command to display the logs and to stream new logs as they arrive (and also include timestamps) for the new-nginx Pod:
- You will see the logs display in this new window.
- Return to the second Cloud Shell window and re-run the curl command to generate some traffic on the Pod.
- Review the additional log messages as they appear in the third Cloud Shell window.
- Close the third Cloud Shell window to stop displaying the log messages.
- Close the original Cloud Shell window to stop the port forwarding process.
End your lab
When you have completed your lab, click End Lab. Google Cloud Skills Boost removes the resources you’ve used and cleans the account for you.
You will be given an opportunity to rate the lab experience. Select the applicable number of stars, type a comment, and then click Submit.
The number of stars indicates the following:
- 1 star = Very dissatisfied
- 2 stars = Dissatisfied
- 3 stars = Neutral
- 4 stars = Satisfied
- 5 stars = Very satisfied
You can close the dialog box if you don't want to provide feedback.
For feedback, suggestions, or corrections, please use the Support tab.
Copyright 2022 Google LLC All rights reserved. Google and the Google logo are trademarks of Google LLC. All other company and product names may be trademarks of the respective companies with which they are associated.